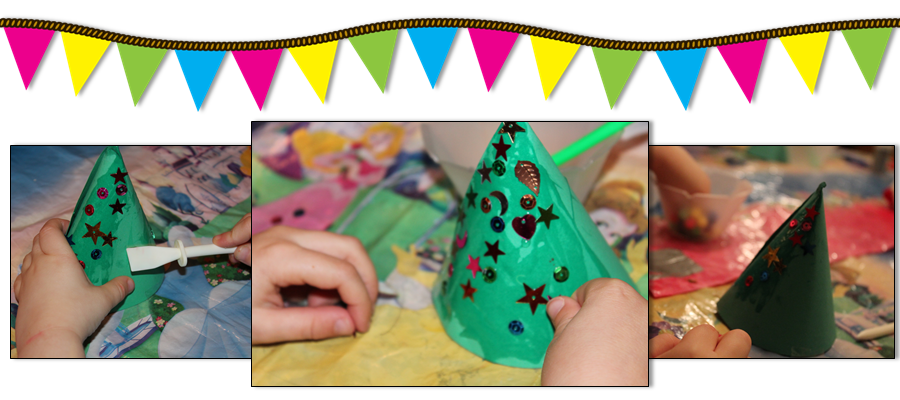
This is again, an oldie but goody. It requires very little effort and make a nice addition to anybody’s mantelpiece during the festive season. It is very tot school / preschool friendly. The task can be differentiated for older Kinder learners by having them cut out a circle and fold it into a cone (it’s a great way to sneak geometry in).
Now keep on reading to find out how to make the
…
CHRISTMAS TREE CONES
You will need to gather:
Green cardstock (it works better than paper .. but if paper is all you got, use paper)
Elmer’s Glue and glue stick
Stapler or double sided tape
Cardboard tube (any length to create the tree trunk)
Sequins … lots and lots of sequins
Glitter … if you are brave enough!
This is what you need to do:
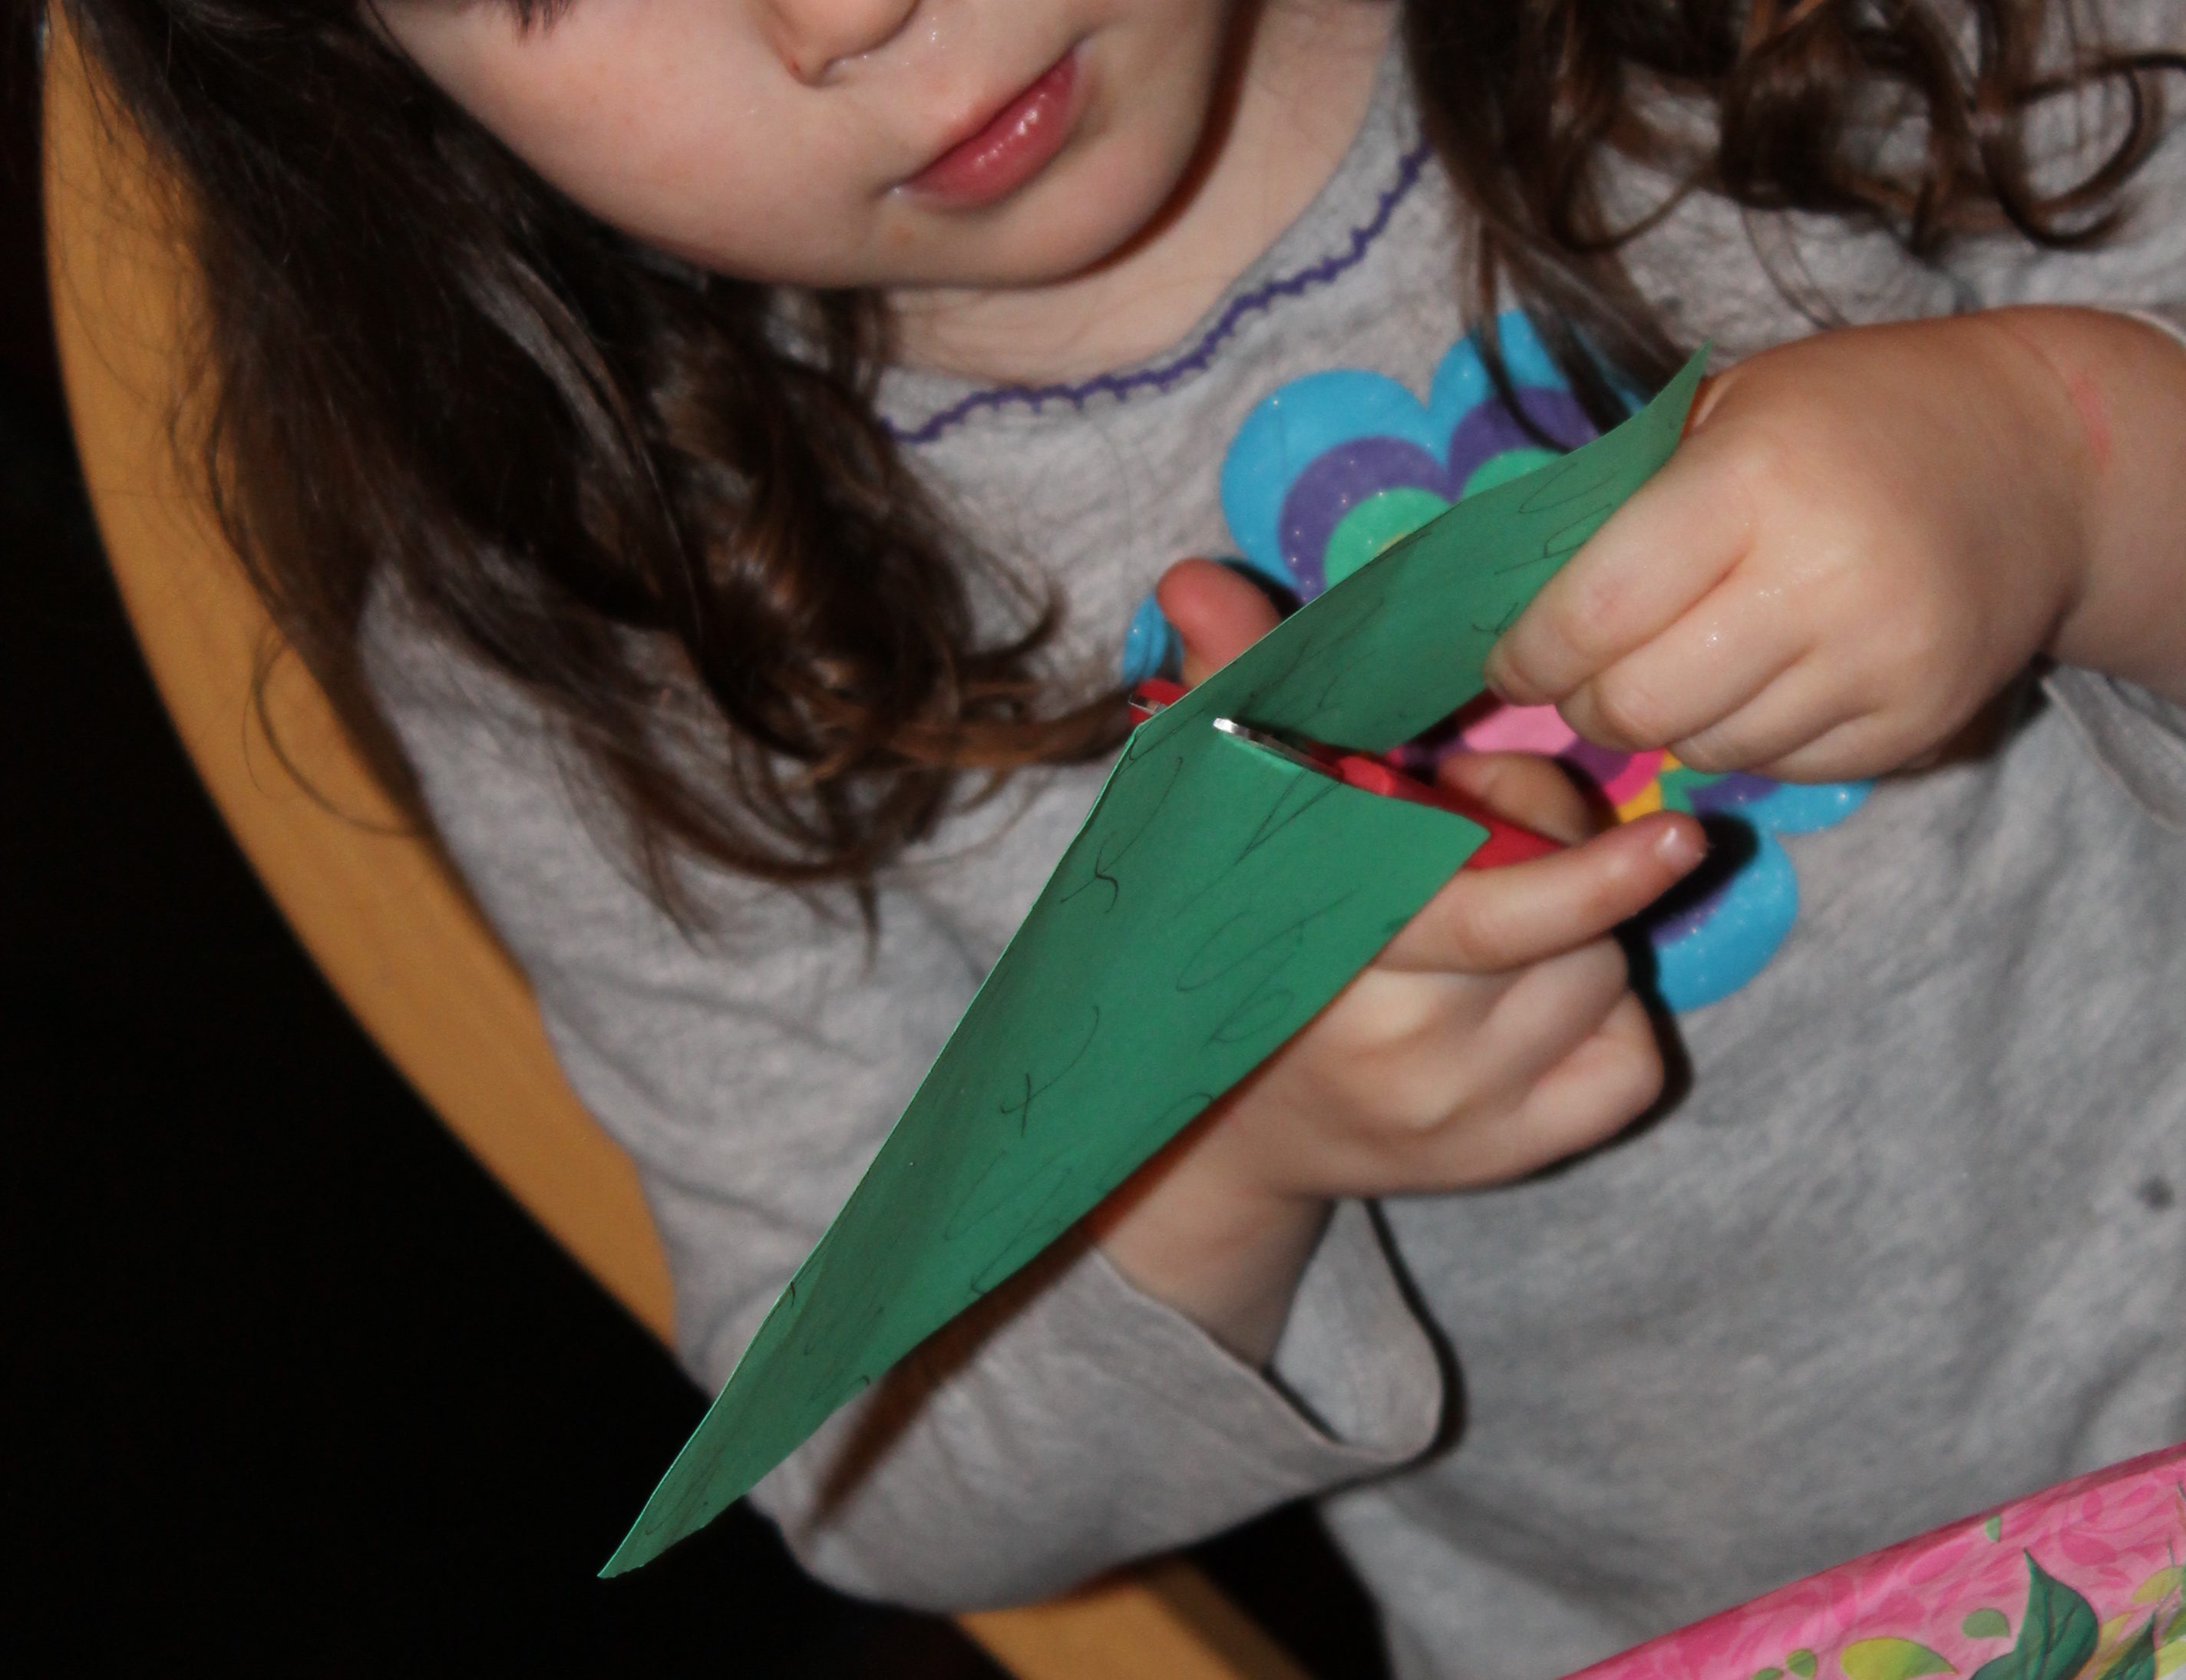
If you want your little learner to cut a circle start there. Draw a line to the middle for them to cut the slit.
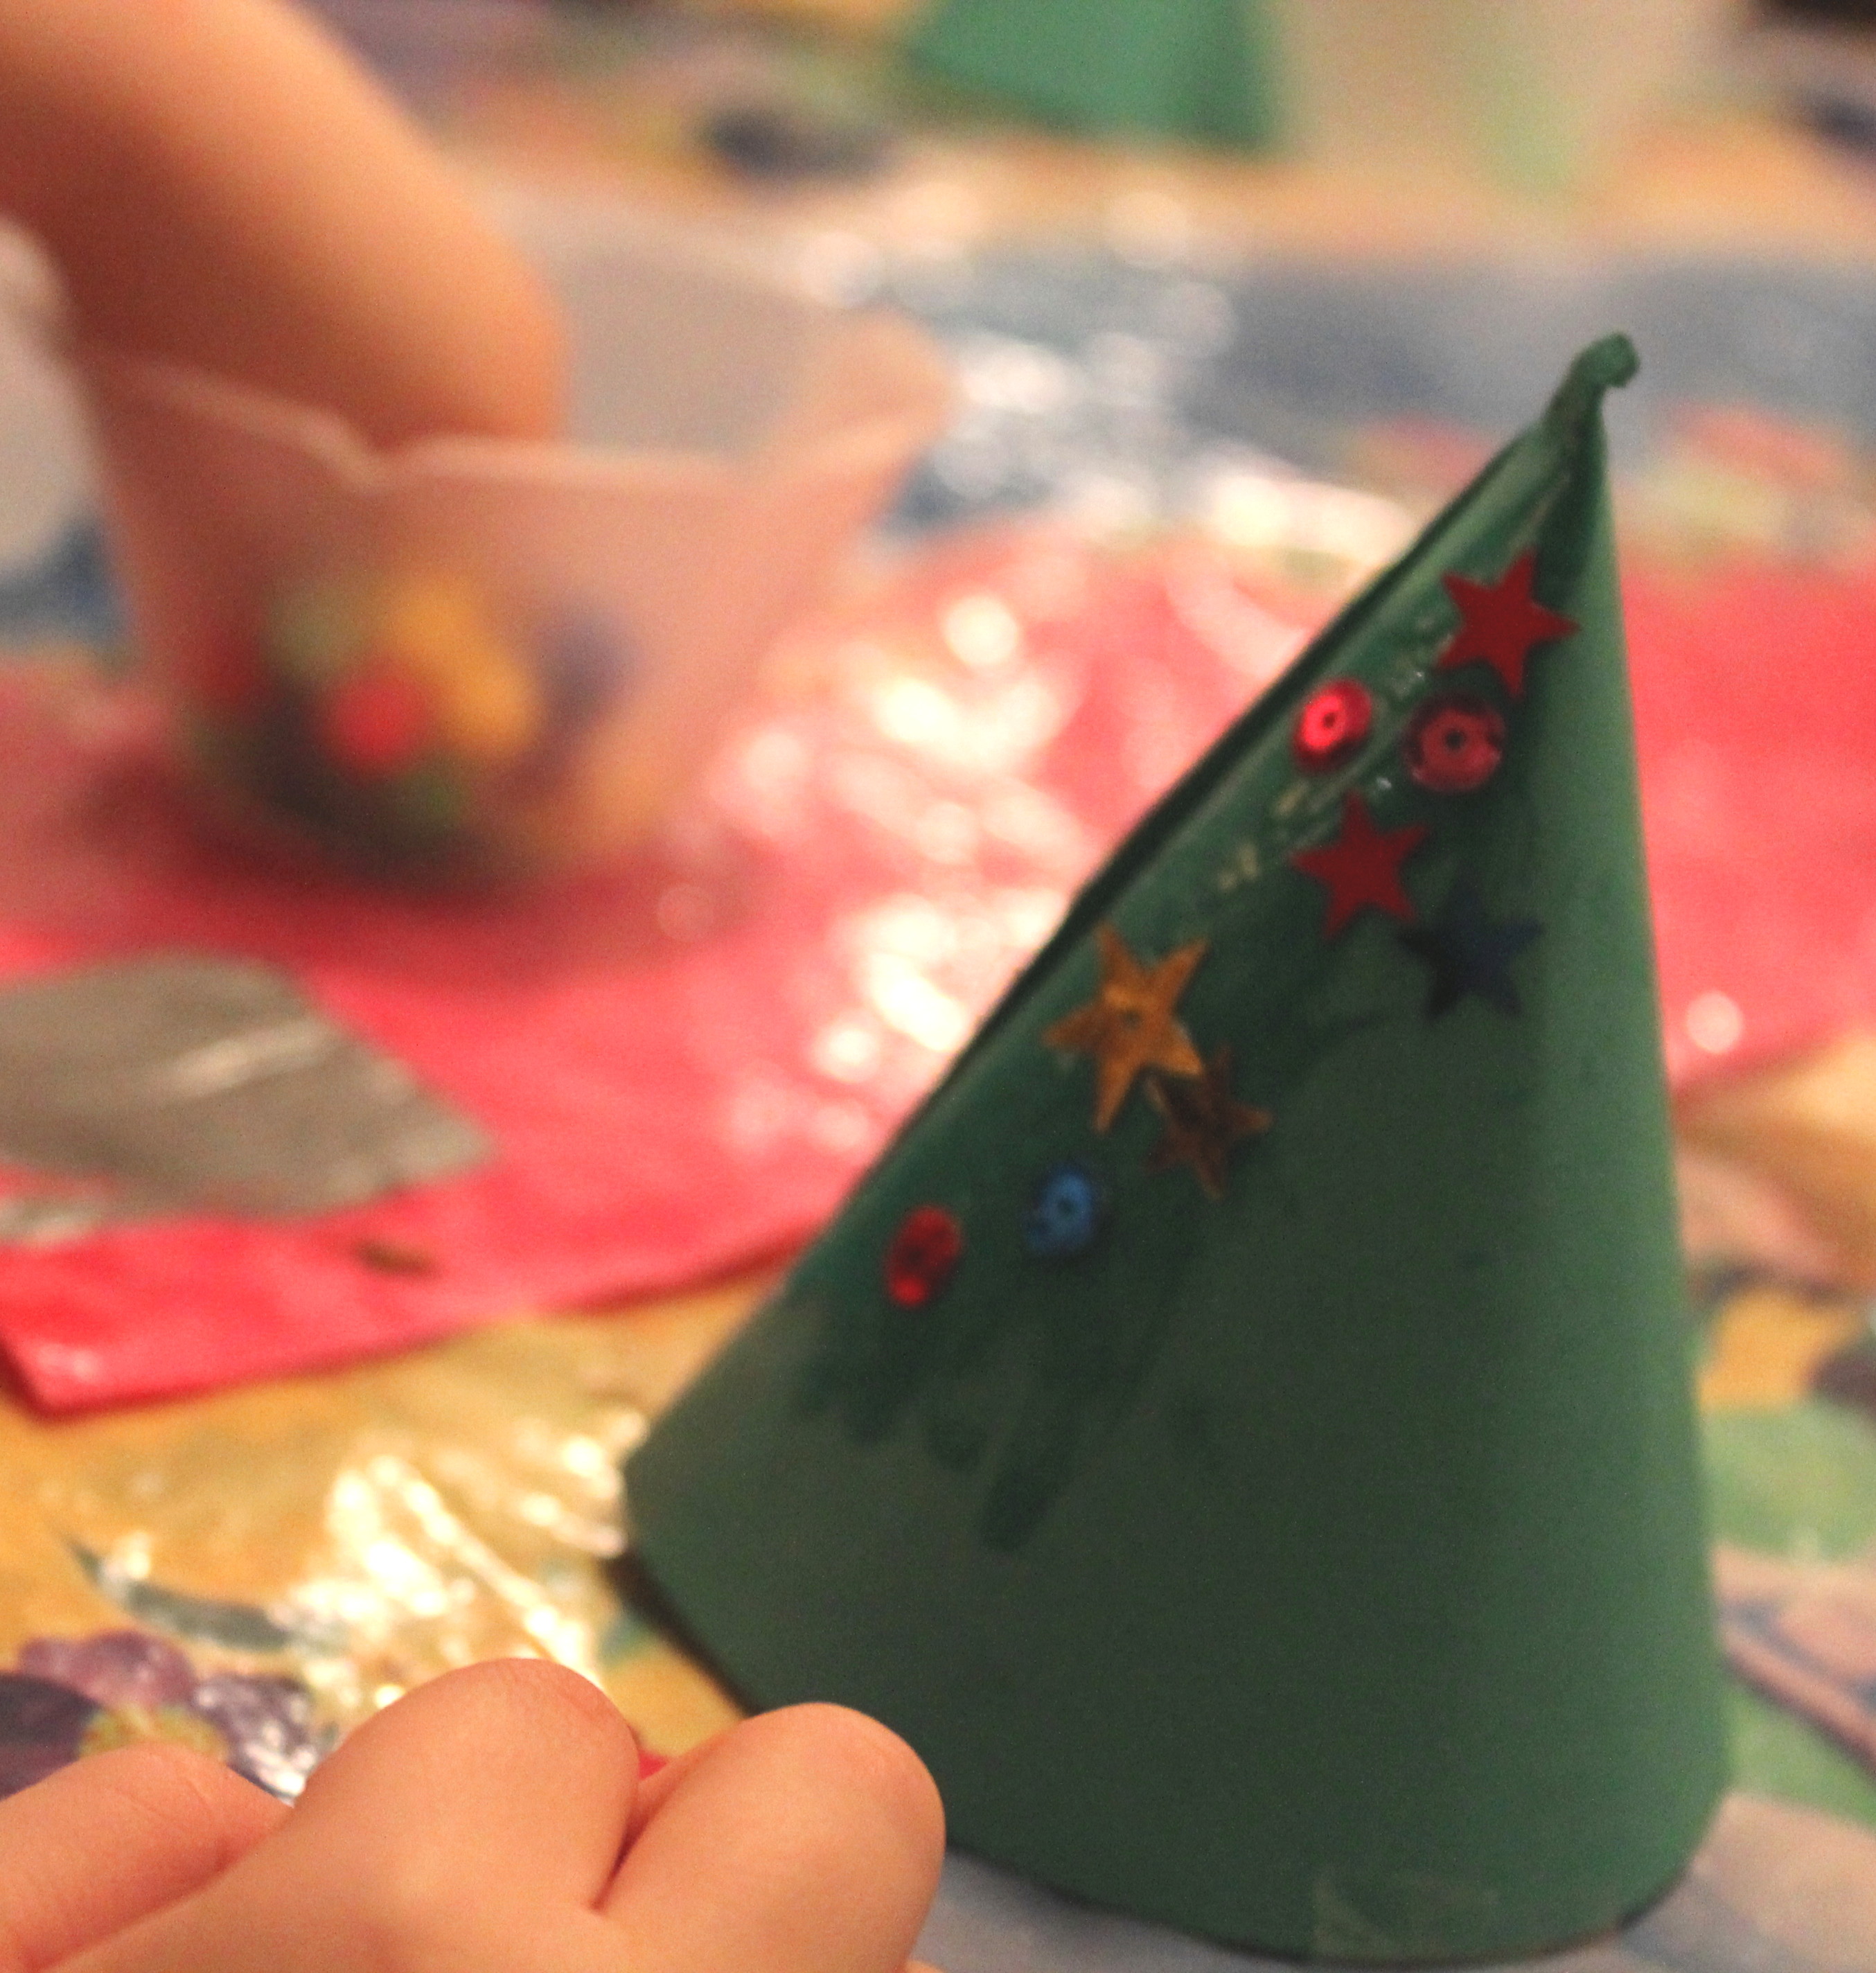
Then make the cone. I prefer to fold the circle into a cone by cutting a slit up the middle of the circle then stapling into place.
You may prefer to decorate first then fold.
It’s a whatever takes your fancy kind of situation …
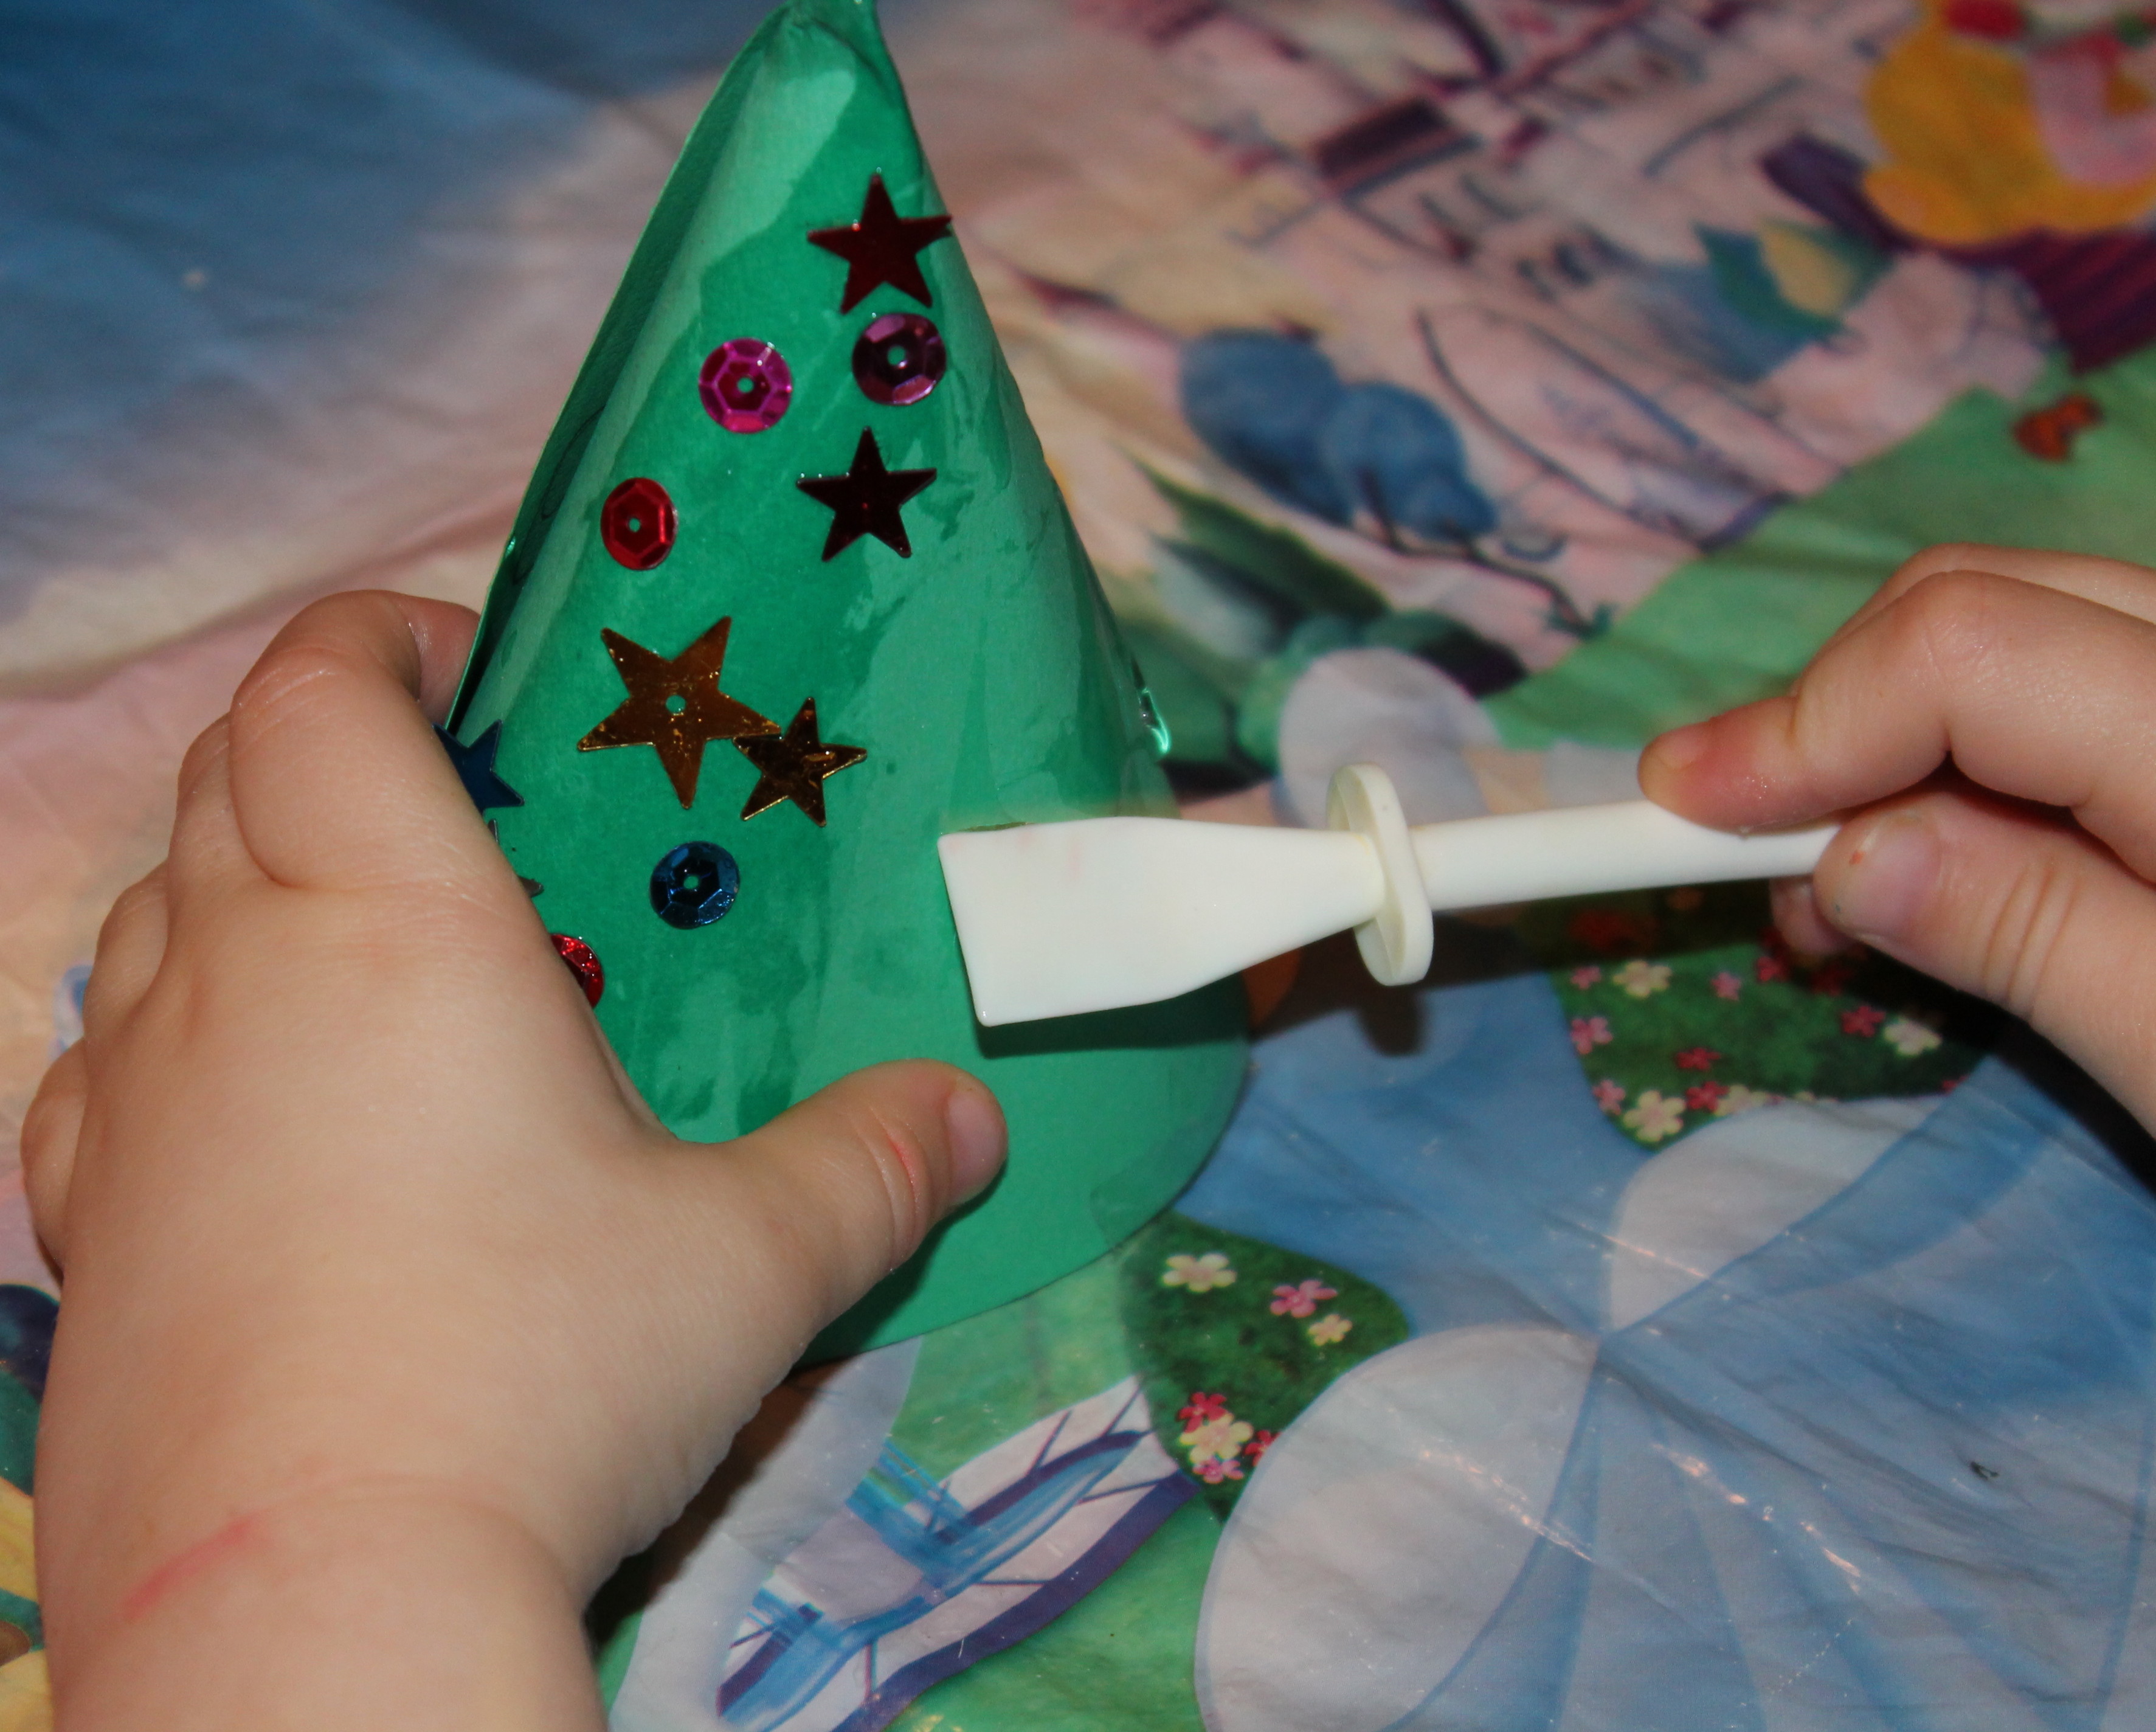
Assuming you’re doing it my way, then spread enough glue so the sequins and glitter stick. However, not too much that the sequins slide off. It’s a delicate balance.

Once decorated allow to dry then balance on top of the cardboard tube.
If you look below I have added links to other Christmas inspired ideas I think you might like!
Keep your feet up. I have a feeling you may be here a while …
Alison at Primary Creations x
This post has been linked up with Tot School.

